
I’ve always said I’m a sucker for eco-friendly reusable items, especially when they’re also fun! They just make sense, both from an environmental standpoint and a budget-friendly standpoint, especially if your budget or work life are limited by illness. Last year I started making reusable fabric dish sponges. I was skeptical at first–I mean, would they really even work?? As it turns out, they do! And they are so much prettier sitting by the sink than regular disposable sponges!
They also make great gifts, whether for stocking stuffers, teacher appreciation, bridal showers, or just a fun little pick-me-up for a friend or family member. And since they use almost no fabric, it’s easy to make seasonal sponges to match your decor for every holiday.

To make them, you’ll need just a few things: a handmade pattern (don’t worry! It’s easy!), cotton or flannel fabric scraps, thicker fabric (such as fleece, terry, etc.), needle, thread, and sewing machine. Don’t worry, these work up in a matter of minutes!
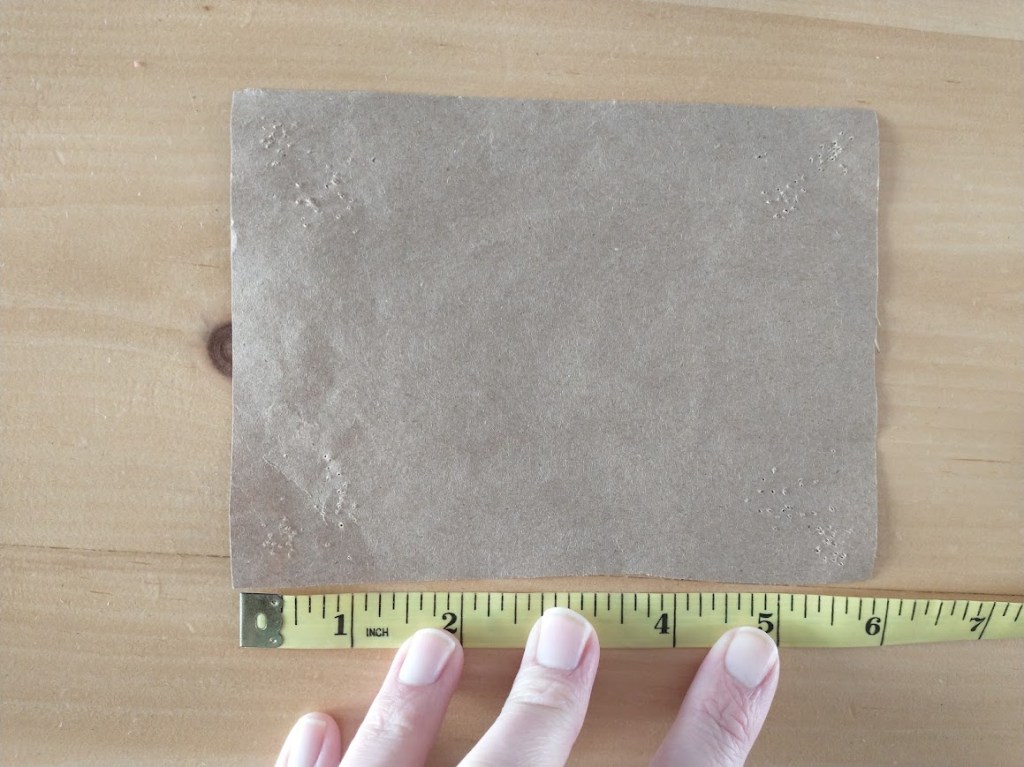
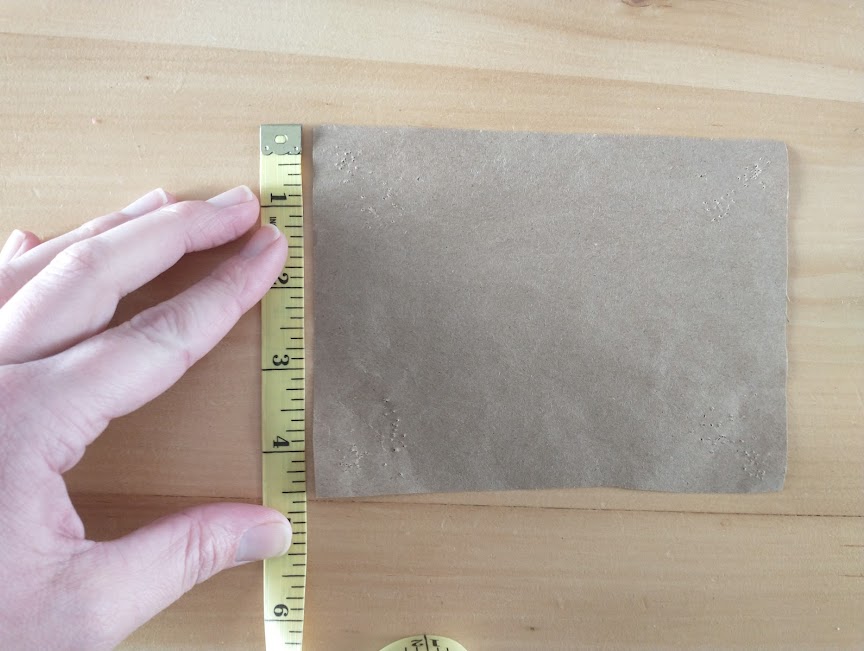
First, the pattern. You can make these any size you’d like, but I found that starting with a pattern piece of roughly 4.5″x6″ works well. You can cut your pattern out of anything: butcher paper, computer paper, scraps from the recycling bin, etc. Just measure and cut out your rectangle. You can use it over and over again until the paper is worn out.
Next, let’s talk about fabric. When I went looking for tutorials and ideas originally, several places suggested using flannel for one side and cotton for the other. I’ve tried all kinds of fabrics since then, and here’s the thing: I find that cotton works best for actually scrubbing the dishes clean. Flannel is fine for just wiping things out, but if you really have caked-on food or need to do a little heavier cleaning, I recommend using cotton for at least one of your pieces.
Whatever fabric you choose, you’ll need a total of two rectangles of patterned fabric.
In between those layers, we need something with just a little “heft” to help give that sponge-like thickness. I originally used some leftover waterproof batting from another project. I’ve also used scraps of fleece, old towels, etc. With the exception of the thick towels (which are nearly impossible to sew through!), any of those will work just fine. You can choose how thick you’d like your sponges to be. I often use two layers of fleece-weight material, which gives me a nice medium-thickness sponge that’s easy to get into small spaces.
However many layers you choose, just cut that many rectangles from your layering fabric.
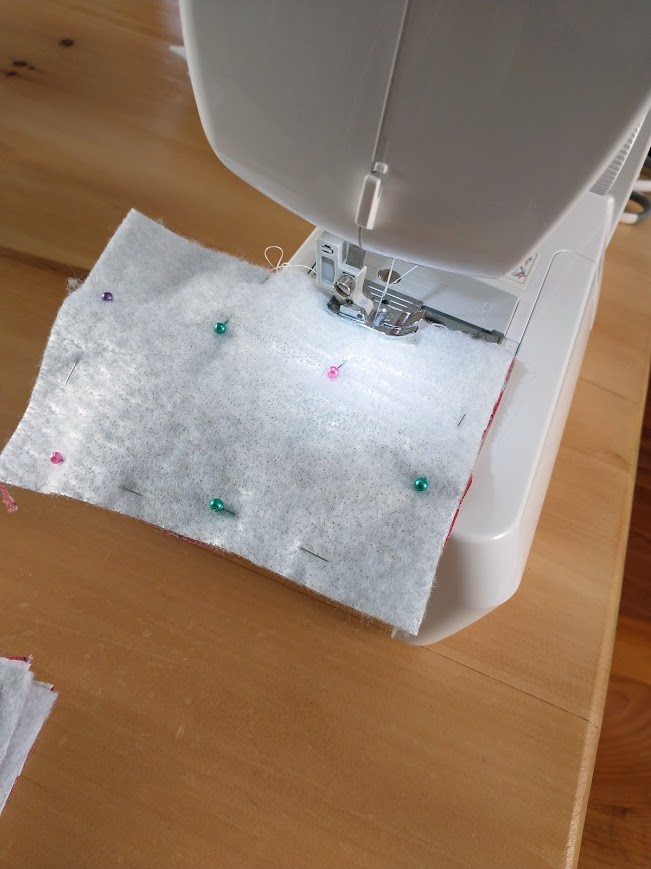
Now to assemble the pieces! Put your patterned pieces with right sides facing and stack your lining layers on top.

Now we’re going to pin them together. Leave a gap of about 1 1/2″ on one of the longer sides of the rectangle, pinning the rest of the way around the piece. Using a sewing machine, stitch all the way around, leaving that gap open on one side. I use a 1/4-1/2″ seam allowance.
With fabric scissors, snip the corners at an angle (this will make it easier to get nice sharp corners when we turn the fabric right side out), then trim around the perimeter of the piece so that you have just shy of 1/2″ of fabric outside of the seam on all sides except the open side (you’ll want a little more fabric here to make it easier to turn under).


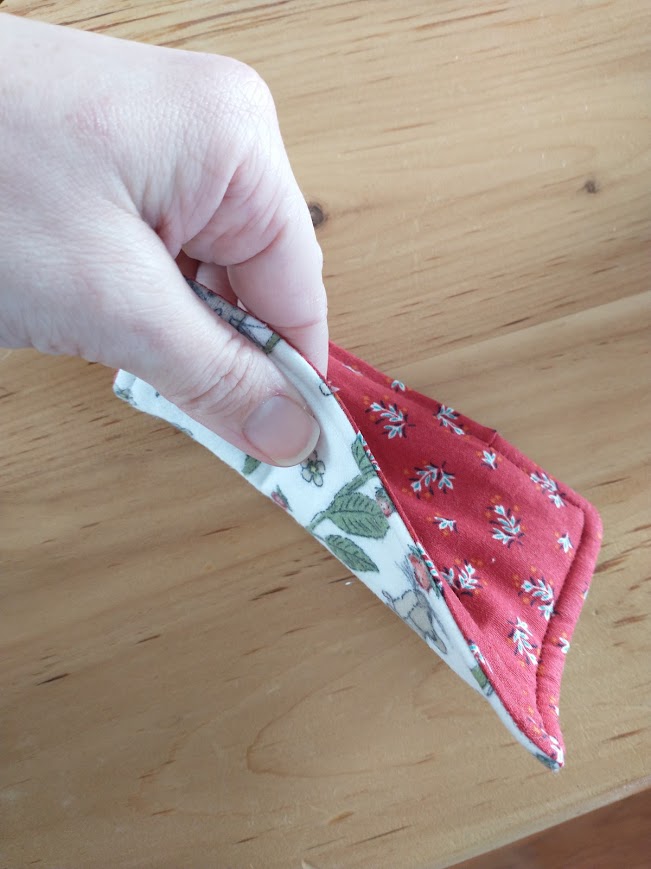
Now we need to turn things right-side out. Reaching between the two right sides of the patterned fabric, begin to fold the inside outward. This is the most complicated part of the process! Just work it slowly right-side out.


As you get it mostly turned out, it can be helpful to use a pencil or the pointed end of scissors to push the fabric all the way out in the corners.
Lay the piece flat and fold the raw edges of the opening toward each other, so that they fold over, lining up with the sewn portions. Pin the sides together to keep them in place.

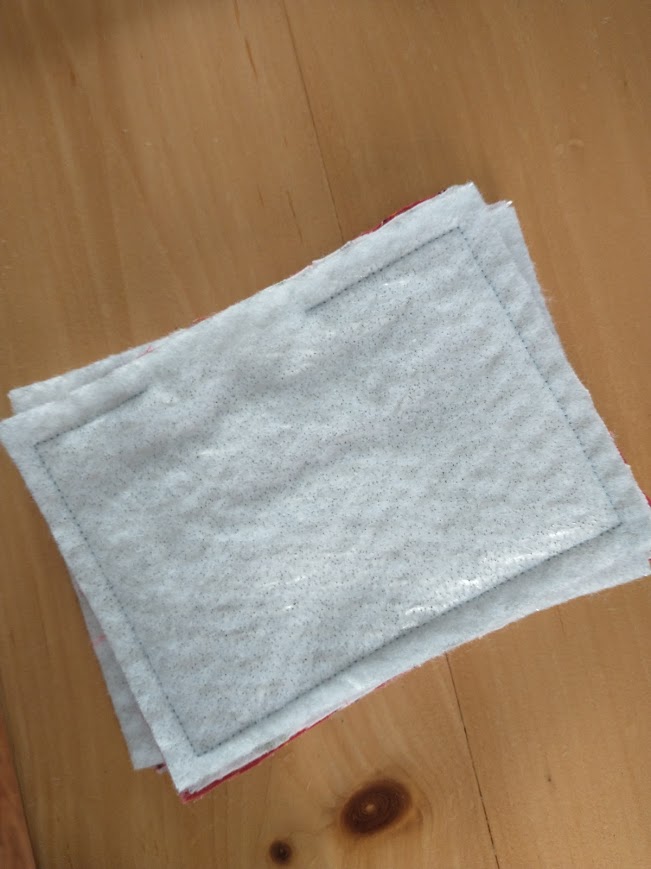
Now, back to the sewing machine! We’re going to sew around the perimeter of the sponge, starting with that pinned section. I stitch about 1/4 from the edge to make sure I’ve caught the raw edges on that pinned portion.

And that’s it! You have a completed, super-practical, adorable kitchen sponge!


You can use it just like you’d use a regular sponge: get it wet, add a little dish soap, scrub, and rinse and wring it out. When it gets dirty, just toss it in the washing machine and dryer, and it’ll be good to go again.
What do you think? Can you envision these happy little sponges sitting by your sink? Have you made them before? I’d love to hear your project ideas in the comments below!
Happy sewing!

